Running Windows XP on a modern gaming laptop is a challenge, especially when it comes to utilizing advanced features like GPU passthrough. However, with the right setup, it’s possible to use your gaming laptop’s hardware, such as the GPU, to run Windows XP within a virtual machine (VM). The key to this setup is configuring GPU passthrough, allowing the VM to directly access the GPU for accelerated performance, similar to how the GPU would perform in a native environment.
In this guide, we’ll cover the essentials of gaming laptop GPU passthrough and explain how to run Windows XP with just one GPU. We’ll break down the process, potential challenges, and key tips to make the process easier for you.
Introduction to GPU Passthrough and Windows XP
Before diving into the technicalities, let’s understand what GPU passthrough is and why it’s useful. GPU passthrough is a technique used in virtualization where a physical GPU is made directly available to a virtual machine (VM), rather than emulating one. This allows for high-performance graphics, particularly useful for gaming or other GPU-intensive applications.
Running Windows XP on a gaming laptop might seem outdated, but there are valid reasons to do so. Legacy software, old games, or specific applications that are best run on XP can be beneficial for enthusiasts or developers. However, to get the most out of this setup, GPU passthrough allows you to maintain excellent graphics performance.
Tools and Requirements for GPU Passthrough
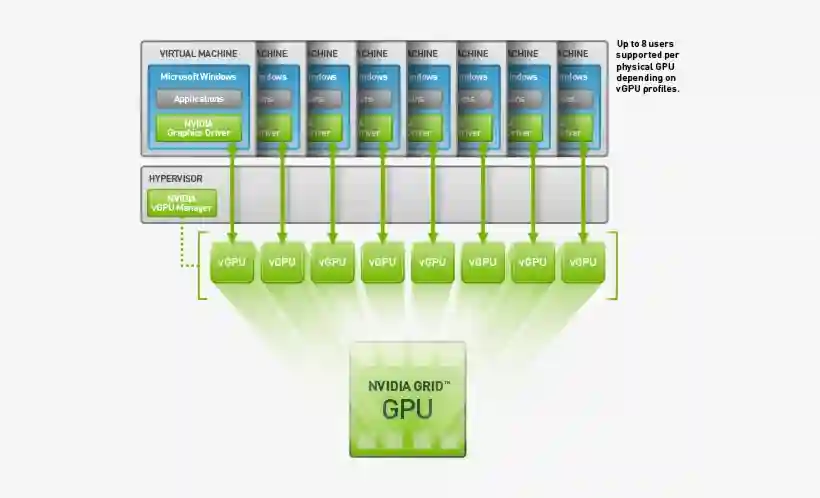
Setting up GPU passthrough requires specific tools and components. You’ll need to ensure that your gaming laptop and the virtual machine (VM) software you are using support GPU passthrough.
Hardware Requirements:
Gaming Laptop with Dedicated GPU: Your gaming laptop should have a dedicated GPU (like NVIDIA or AMD) capable of passthrough.
Intel or AMD Processor with Virtualization Support: Your processor needs to support Intel VT-d or AMD-Vi technology for hardware virtualization.
Enough RAM and Storage: Running a VM requires additional resources, so ensure that your system has enough RAM (preferably 16GB or more) and available storage.
USB and Network Interface Cards: These might need to be passed through for peripheral or networking support in the VM.
Software Requirements:
Virtual Machine Software: You’ll need a hypervisor, such as KVM/QEMU, VMware Workstation, or VirtualBox, that supports GPU passthrough.
Operating System: Windows XP installation media and necessary drivers.
Linux Host: For better GPU passthrough support, it’s recommended to use a Linux-based host OS such as Ubuntu or Fedora.
Key Point: Make sure your laptop meets the hardware requirements, particularly for virtualization, to avoid issues during the setup.
Step-by-Step Guide to Setting Up GPU Passthrough for Windows XP
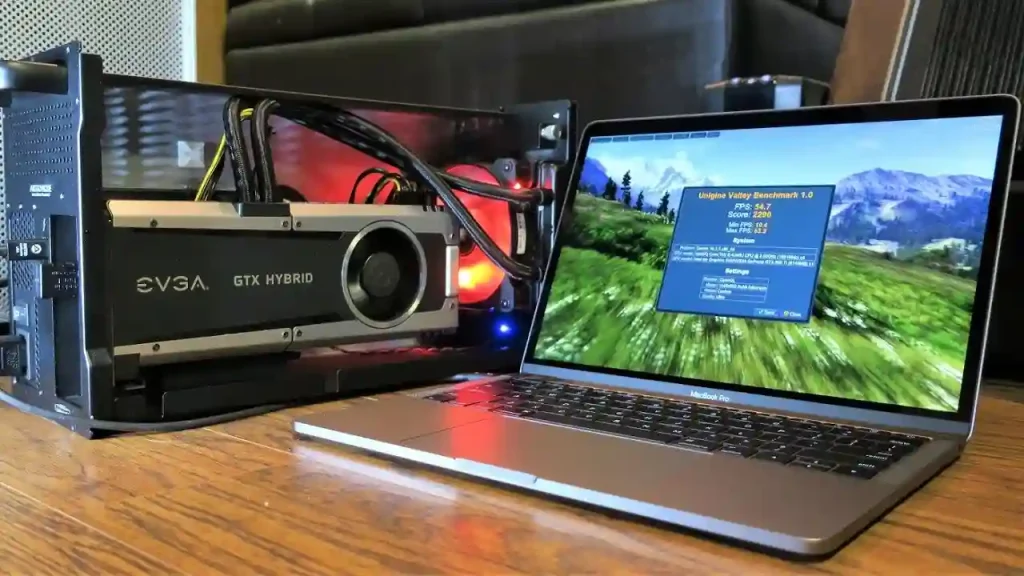
Now, let’s get into the setup process for GPU passthrough. This will allow your Windows XP VM to utilize the GPU effectively.
Step 1: Install and Configure the Hypervisor
First, install your chosen virtualization software. For this example, we’ll use KVM/QEMU on a Linux host, as it’s well-known for supporting GPU passthrough.
Install KVM: On your Linux distribution, install KVM using the package manager. For Ubuntu, the command is:
bash
Copy
sudo apt install qemu-kvm libvirt-bin bridge-utils virt-manager
Enable Virtualization: Ensure that hardware virtualization is enabled in your BIOS/UEFI settings. If you’re using Intel processors, enable Intel VT-d. For AMD, enable AMD-Vi.
Start libvirt:
bash
Copy
sudo systemctl enable –now libvirtd
Install Virt-Manager: Virt-Manager is a graphical interface that simplifies VM management. Install it with:
bash
Copy
sudo apt install virt-manager
Key Point: Always ensure that virtualization is enabled in your BIOS settings for the passthrough process to work.
Step 2: Set Up the Virtual Machine
Create a New Virtual Machine: Open Virt-Manager and click “Create a new virtual machine.” Follow the prompts to choose Windows XP as the OS and allocate resources such as CPU, memory, and storage.
Add the GPU to the VM:
- In Virt-Manager, go to the View > Details of your VM.
- Add the GPU to the VM by selecting the Add Hardware option.
- Choose PCI Host Device and select your GPU.
Configure GPU Passthrough: You’ll need to configure the PCIe device for passthrough. This will allow the virtual machine to communicate directly with the physical GPU. Add the following in the XML configuration of the VM:
xml
Copy
<hostdev mode=’subsystem’ type=’pci’ managed=’yes’>
<source>
<address domain=’0x0000′ bus=’0x06′ slot=’0x00′ function=’0x00’/>
</source>
</hostdev>
Step 3: Install Windows XP
Install Windows XP: Insert the Windows XP installation ISO into the VM and start it. Follow the standard process for installing Windows XP. Once installed, ensure you also install any necessary drivers for the GPU to work effectively.
Install GPU Drivers: You will need to install the appropriate drivers for your GPU in Windows XP. For NVIDIA or AMD cards, download the drivers from the respective official websites.
Test the GPU Performance: Once Windows XP is installed, test the GPU performance by running some basic tasks or light games to ensure the passthrough is working correctly.
Key Point: Running Windows XP on modern hardware with GPU passthrough can result in faster performance, as the GPU is directly interacting with the VM.
Common Issues and Troubleshooting

Despite following the setup steps, you may encounter some common issues:
VM Fails to Start with GPU Passthrough: This can happen if the GPU is not properly assigned to the VM. Double-check the device IDs and ensure the correct GPU is passed through.
Graphics Not Displaying Correctly: If your GPU doesn’t display correctly in Windows XP, check if you installed the proper drivers and that they’re compatible with XP.
Performance Issues: If you notice significant performance drops, consider adjusting the allocation of resources like CPU cores and RAM.
No Display on Host After Passthrough: Sometimes, the display on the host system disappears after assigning the GPU to the VM. This can be fixed by adding a secondary GPU for the host or using VNC for display.
Key Point: Troubleshooting GPU passthrough can be tricky. Double-check each step and look for error messages in the hypervisor’s log files.
Why Run Windows XP on a Gaming Laptop?
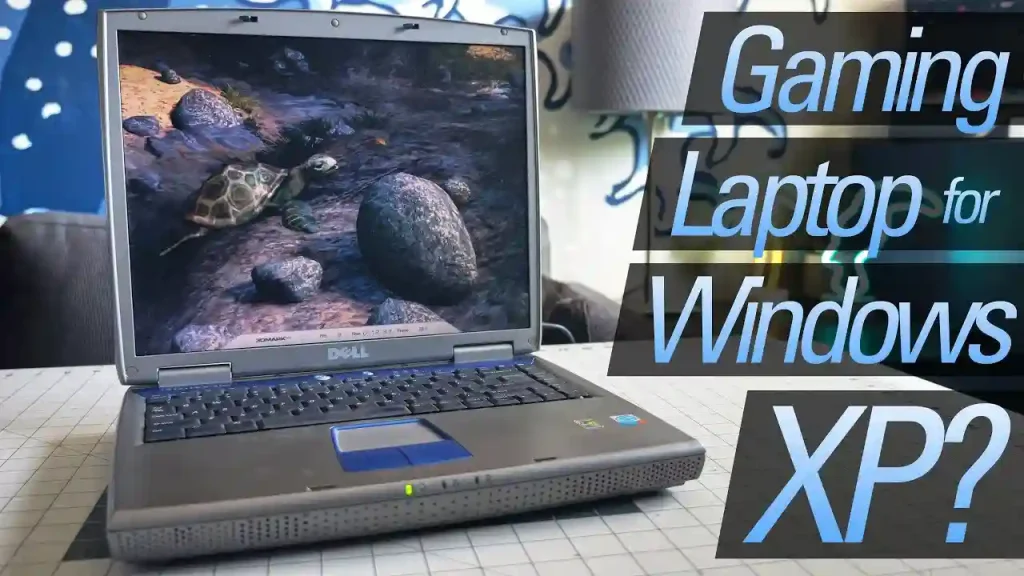
There are several reasons why someone might want to run Windows XP on their gaming laptop with GPU passthrough:
Legacy Software: Many older programs or games are not compatible with modern operating systems. Running XP in a VM ensures you can use them without sacrificing your laptop’s primary functionality.
Enhanced Gaming Performance: Running games in a VM with direct GPU access allows you to experience old games like they were meant to be, without the limitations of software emulation.
Development and Testing: If you’re a developer working with legacy software, running Windows XP in a VM can allow you to test applications in the same environment they were originally designed for.
Key Point: Running legacy software or testing applications in a Windows XP VM can be essential for preserving access to older programs and games.
Conclusion: Unlocking Legacy Performance on a Gaming Laptop
Running Windows XP with GPU passthrough on a gaming laptop is an excellent way to preserve the functionality of older software and games while still taking advantage of modern hardware. While the process may seem daunting, with the right tools and configuration, you can easily set up a virtual machine that utilizes your GPU for high-performance tasks.
By following this guide, you can run Windows XP efficiently, enjoying the best of both worlds — powerful gaming performance and access to legacy applications. The process is not for the faint of heart, but with patience and attention to detail, you’ll have a fully functioning Windows XP setup with GPU passthrough in no time.
Key Point: By implementing GPU passthrough, you’re effectively unlocking legacy performance, making your gaming laptop versatile enough to run modern and old-school applications alike.
ReadMore: HP Vuctus Gaming Laptop Left Arrow Key Replacement: Tools & Tips


